
Added September 2021
THE CAB, BUNKER AND SIDE TANKS
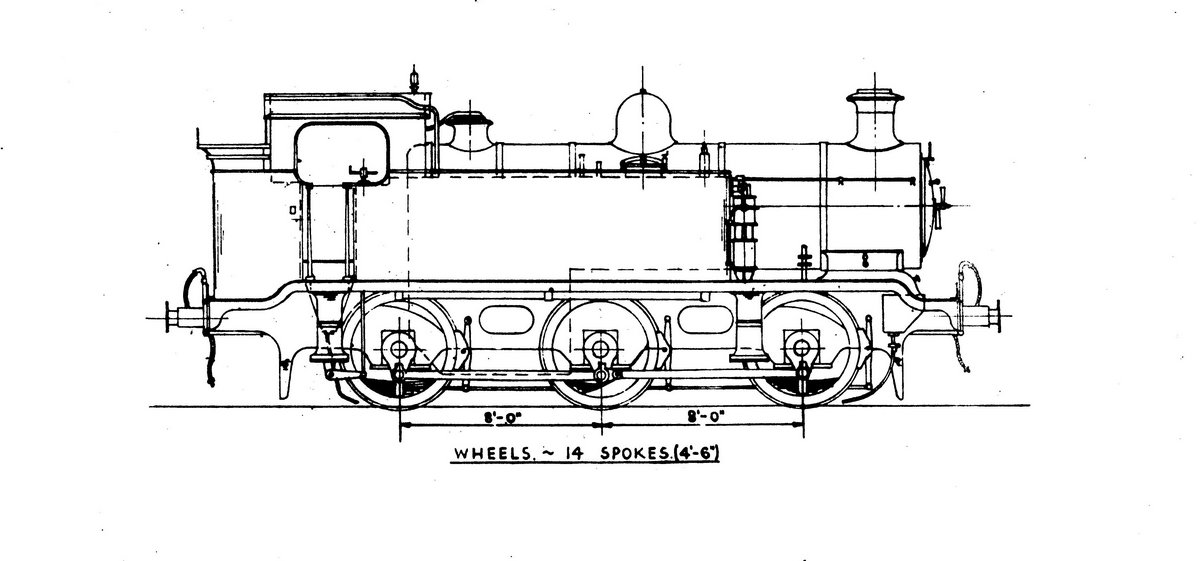
 The weight diagram shows that the front of the bunker extends into the rear of the cab, making construction slightly awkward. I’ve cut out the cab side sheets from two pieces of 10 thou nickel silver soldered together. Once separated, I’ve soldered the cab beading in place (a thin strip of 5 thou n-
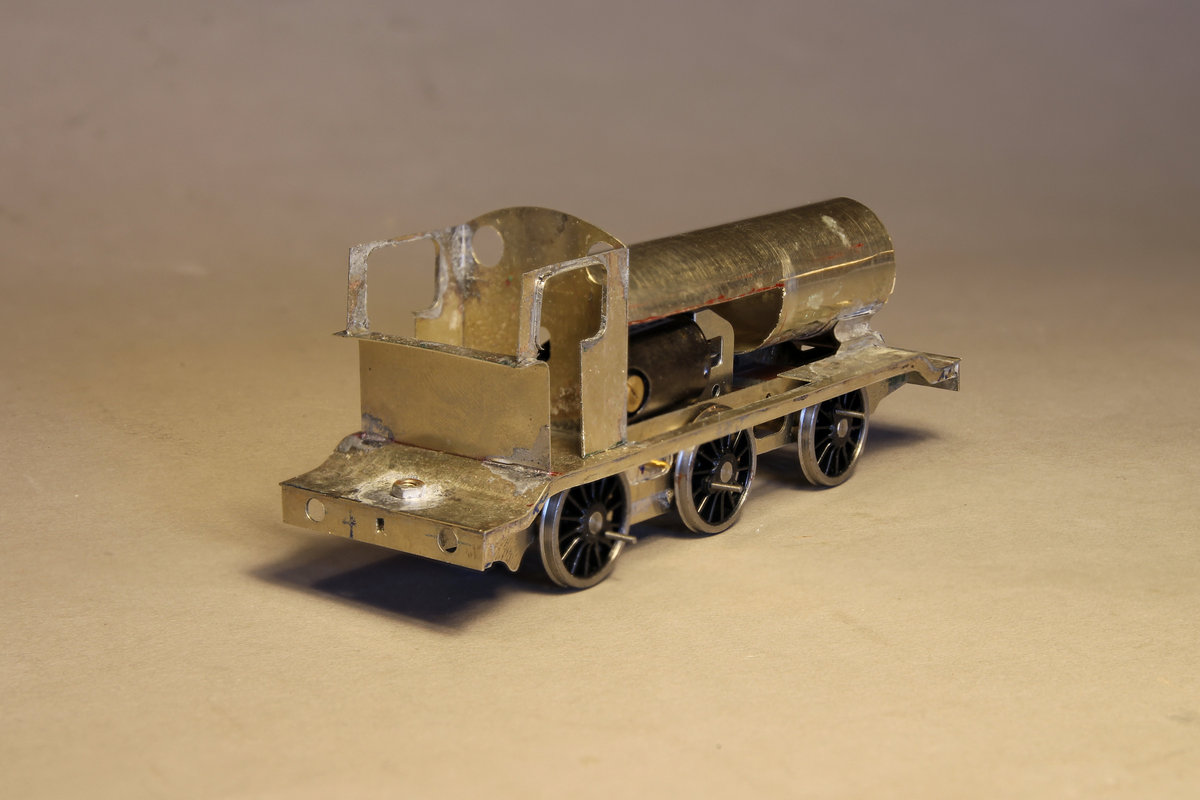
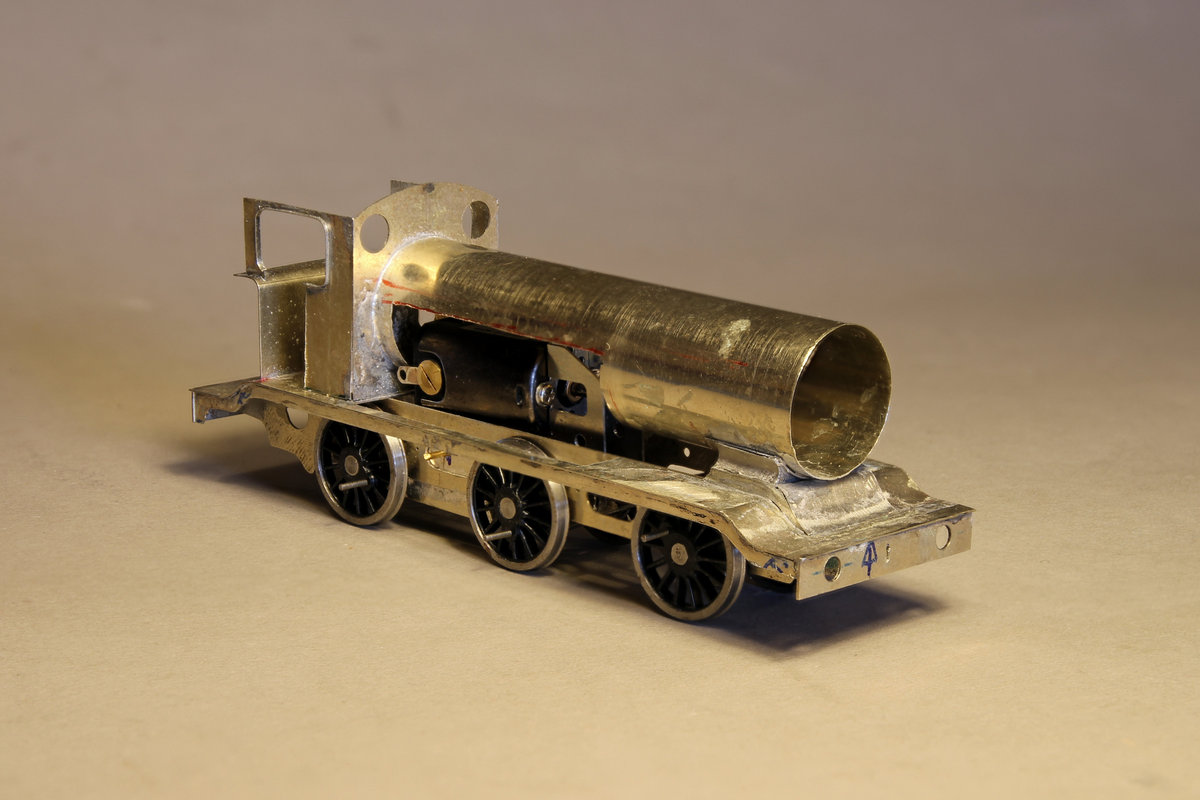 The cab rear was drilled and partly cut to shape with the cab front, but requires shortening so that it sits on the bunker front. A bit of trial-
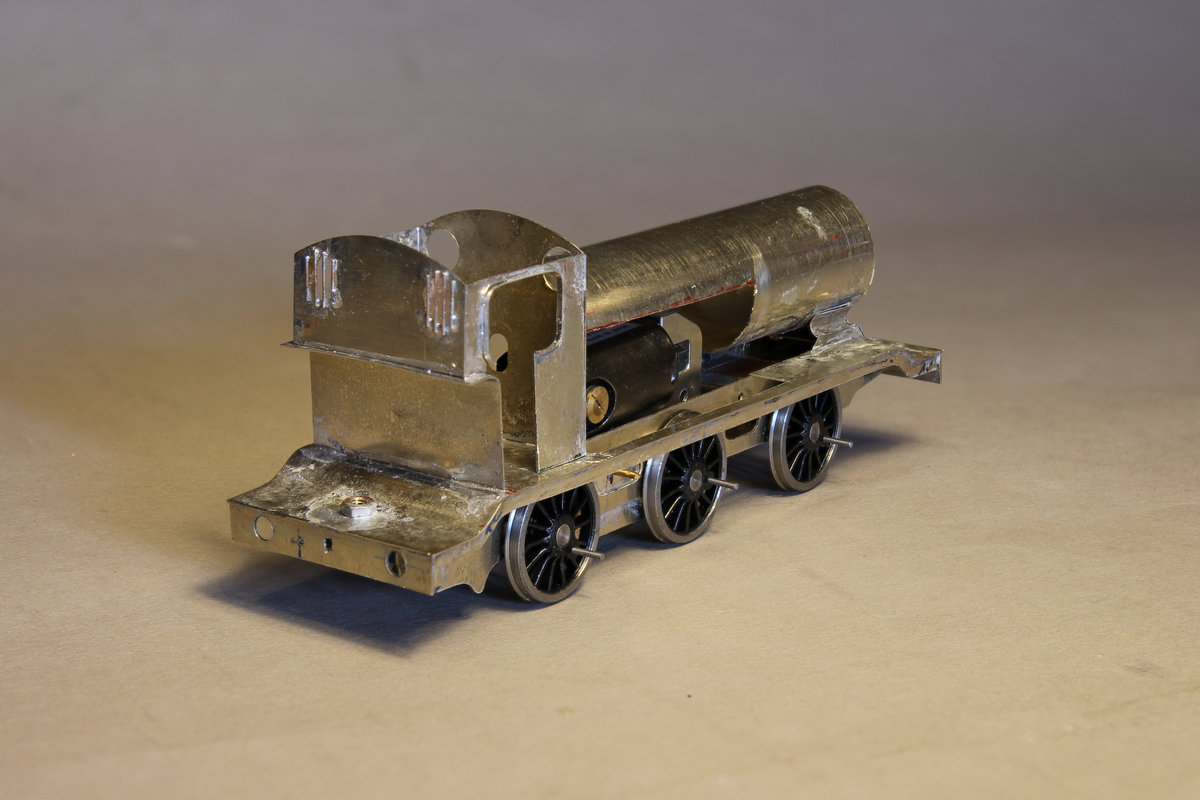 With everything fitting together nicely, the last part is to solder on the rear window bars -
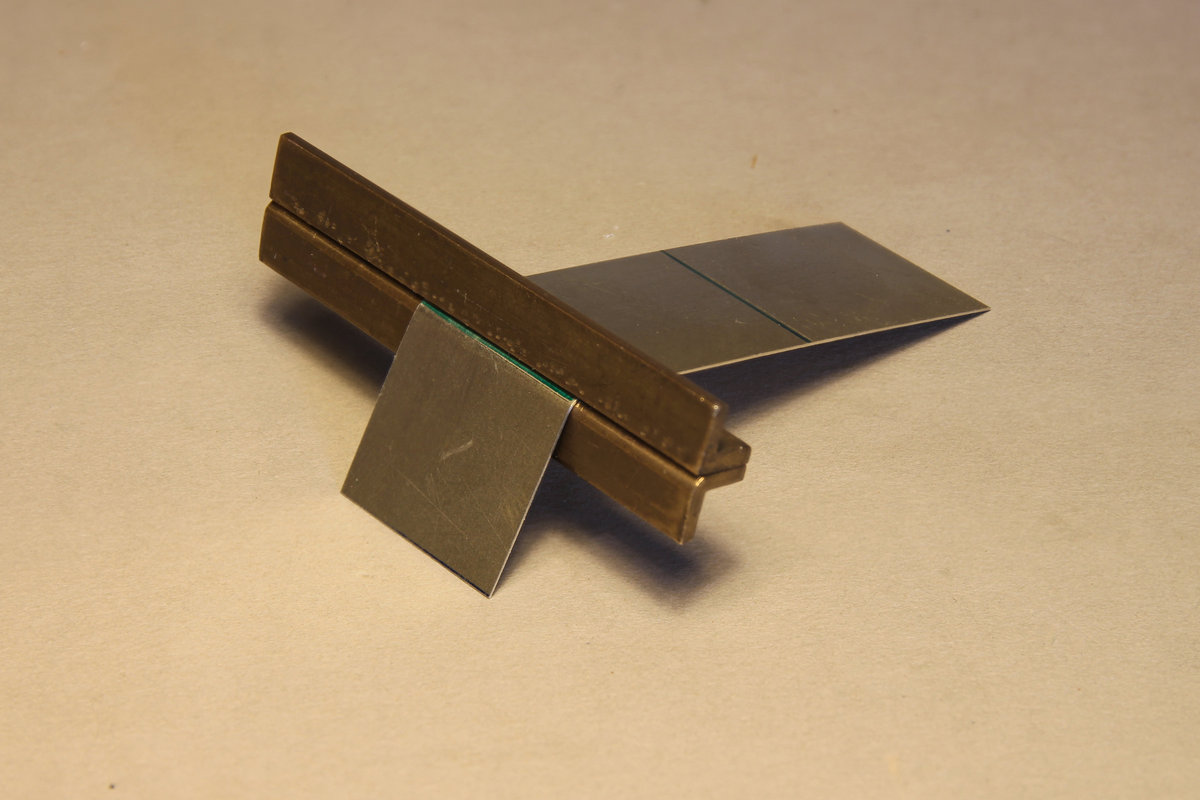
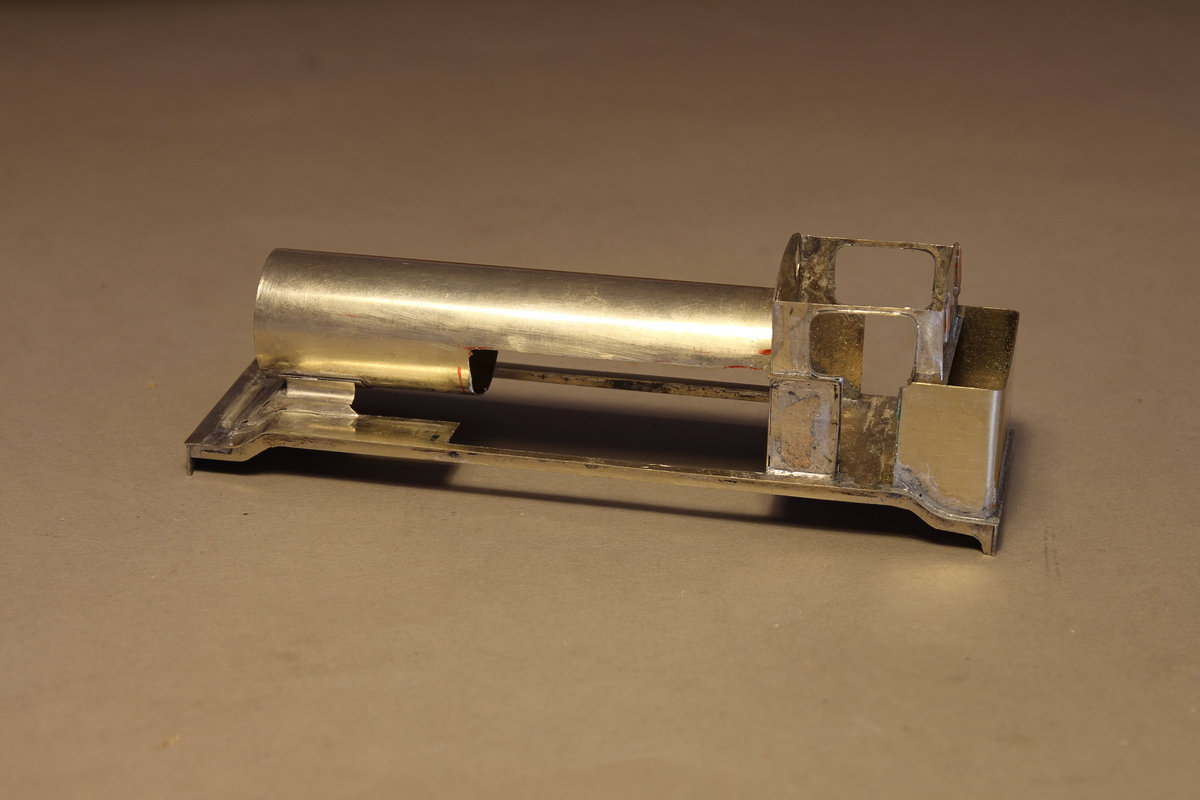 The bunker rear is a simple rectangle of 10th n-
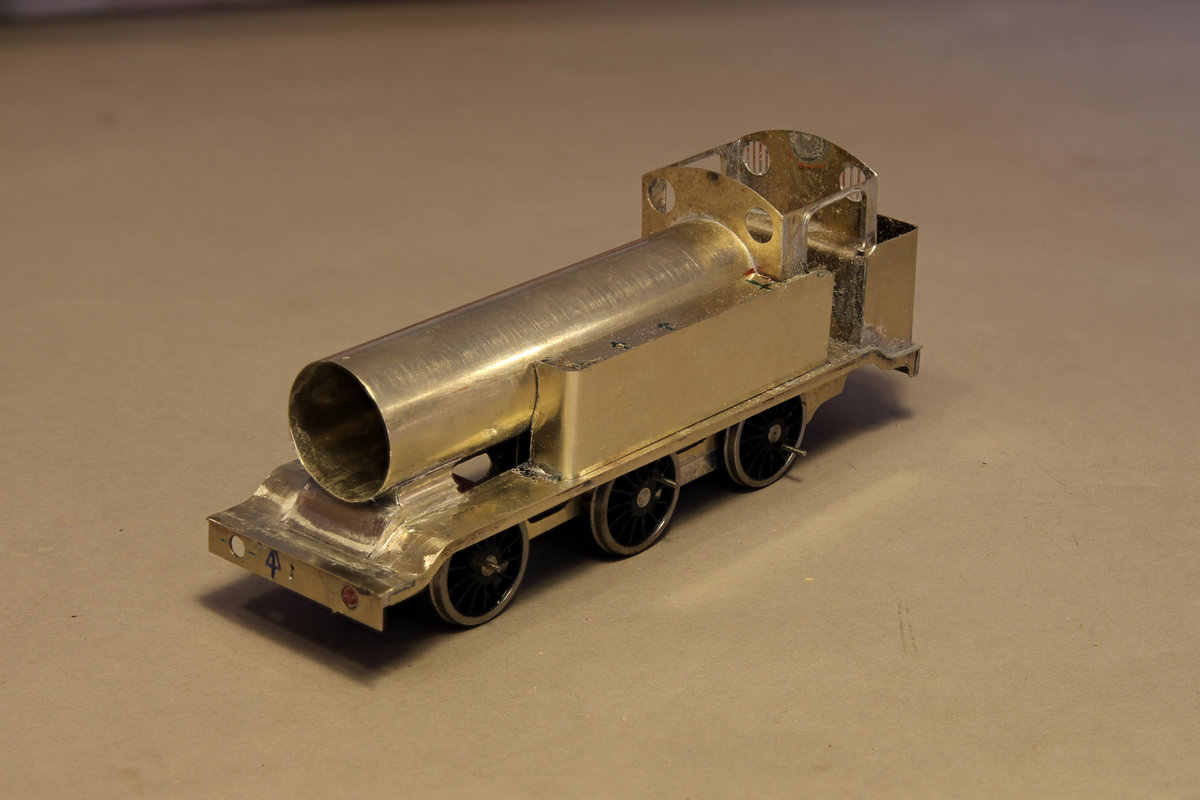
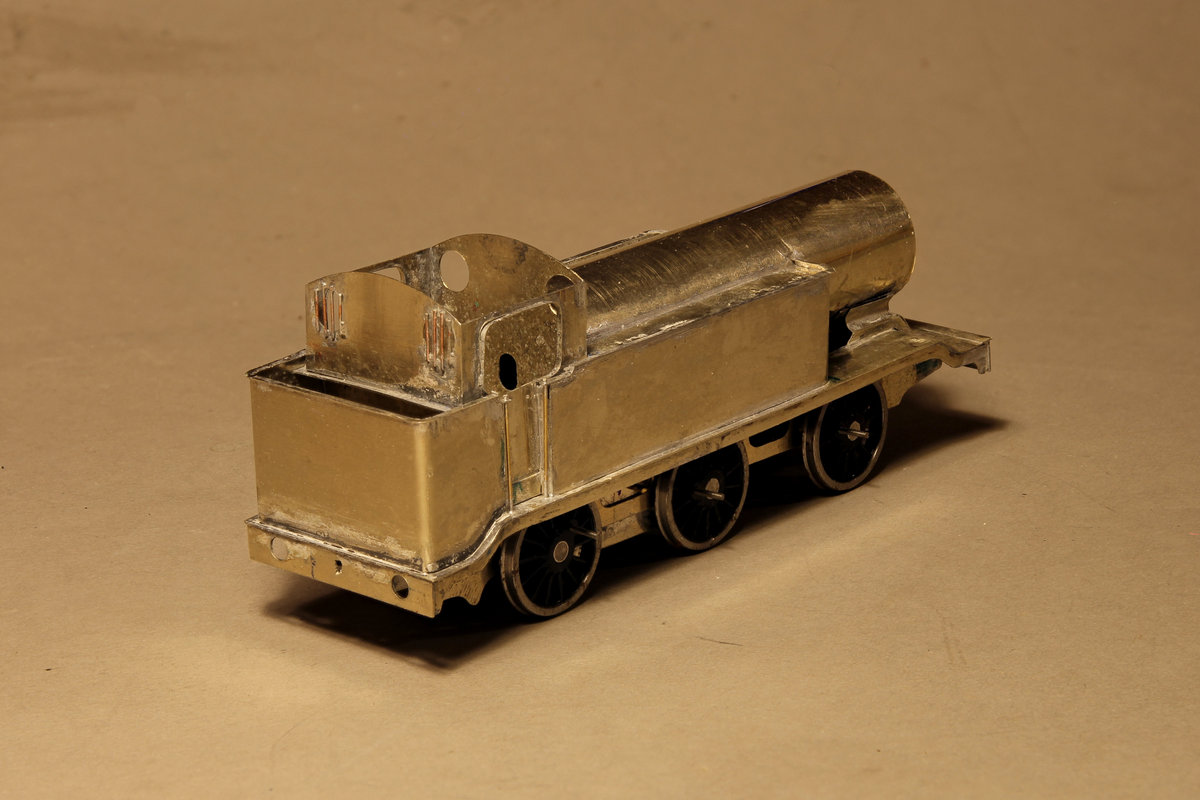
 The side tanks are very different from the Stroudley style. The sides are vertical with a narrow beading around the top edge. The flat top of the tank is recessed slightly below the beading. I’ve cut and bent the tank side to shape (slightly oversize), and then soldered in the flat top (predrilled with the locations of the fittings). After a final fit to length, I’ve soldered the completed unit to the boiler, running plate and cabside.
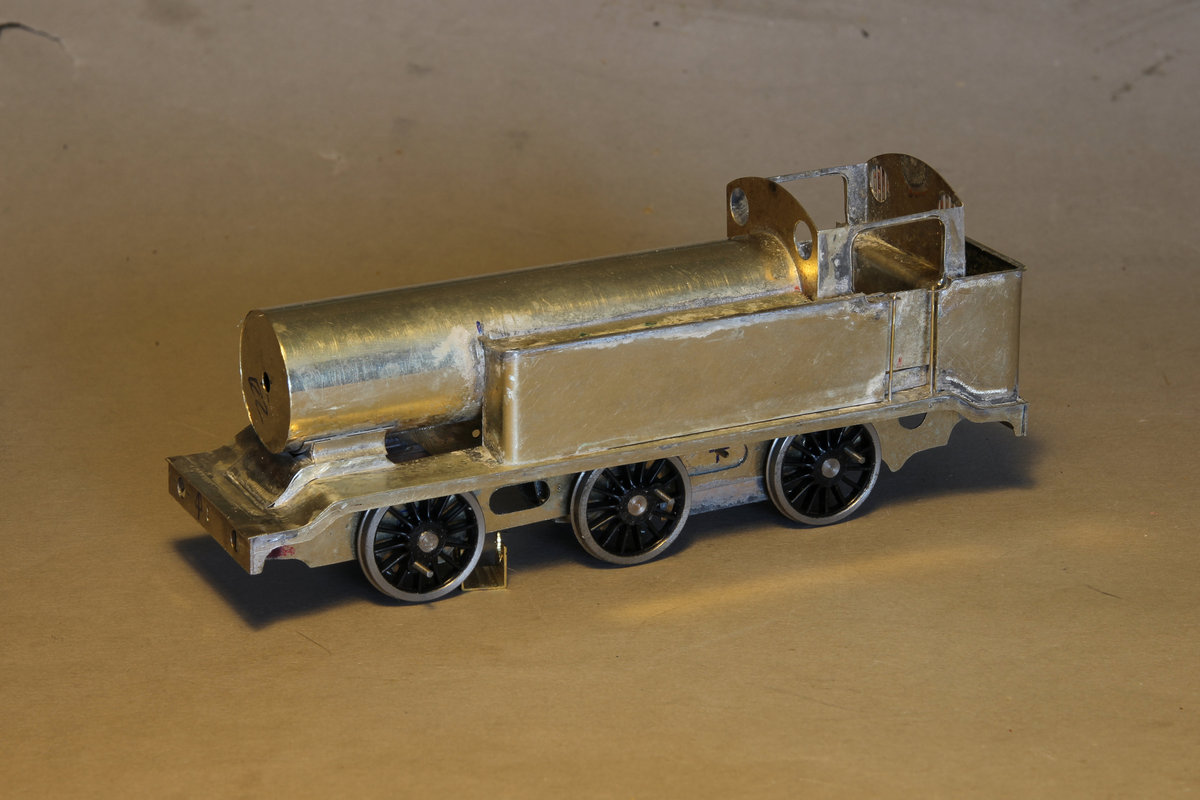
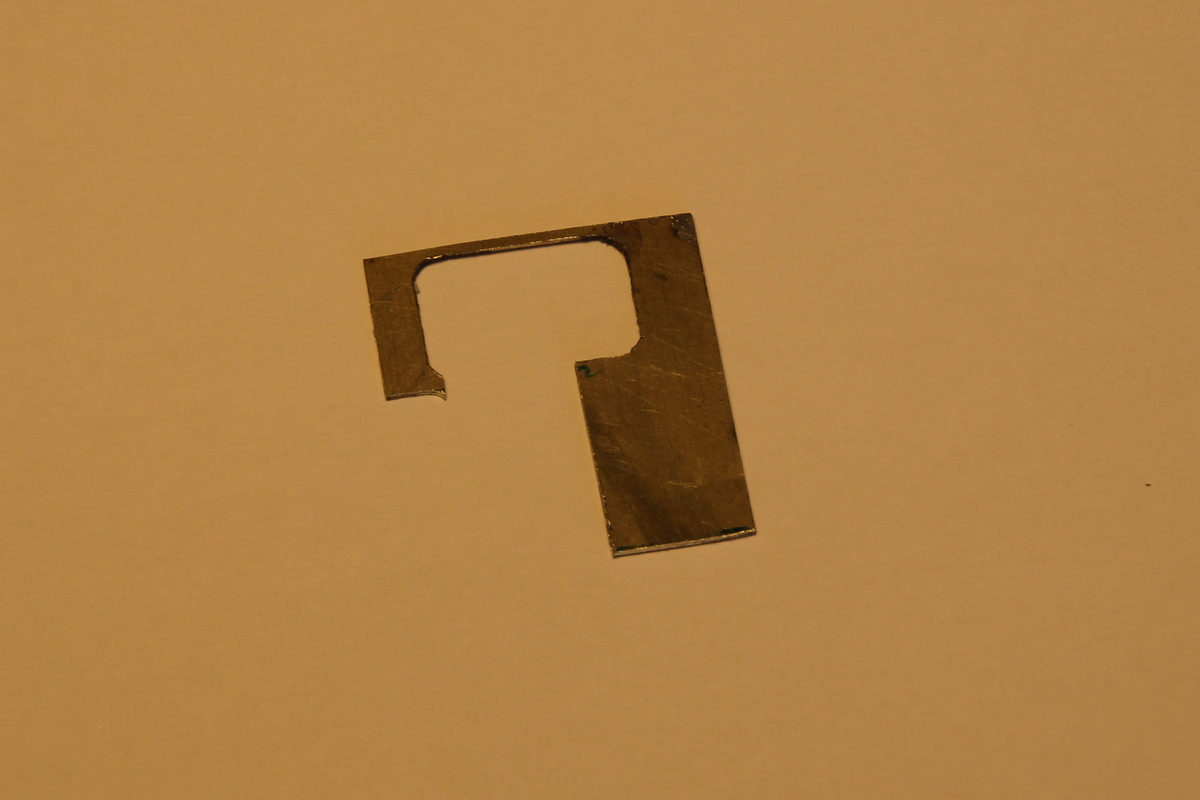
 With both tanks fitted the next stage is the top beading around the side tanks and bunker. Each section is made up from several parts of 5 thou nickel silver, cut in thin strips using the guillotine. For the side tanks, I first added the curved section in front of the cab opening, including the cab grab rail. The two straight sections on top the tanks were then added, leaving just the corner section at the front end of the tank. For this, I cut a wider strip of n-
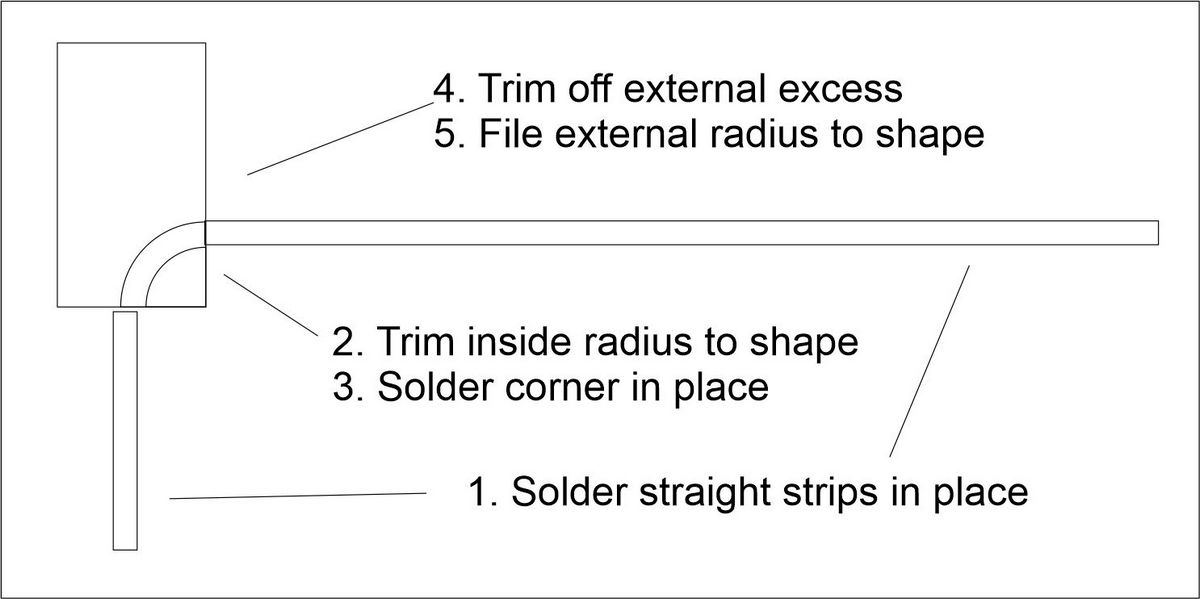
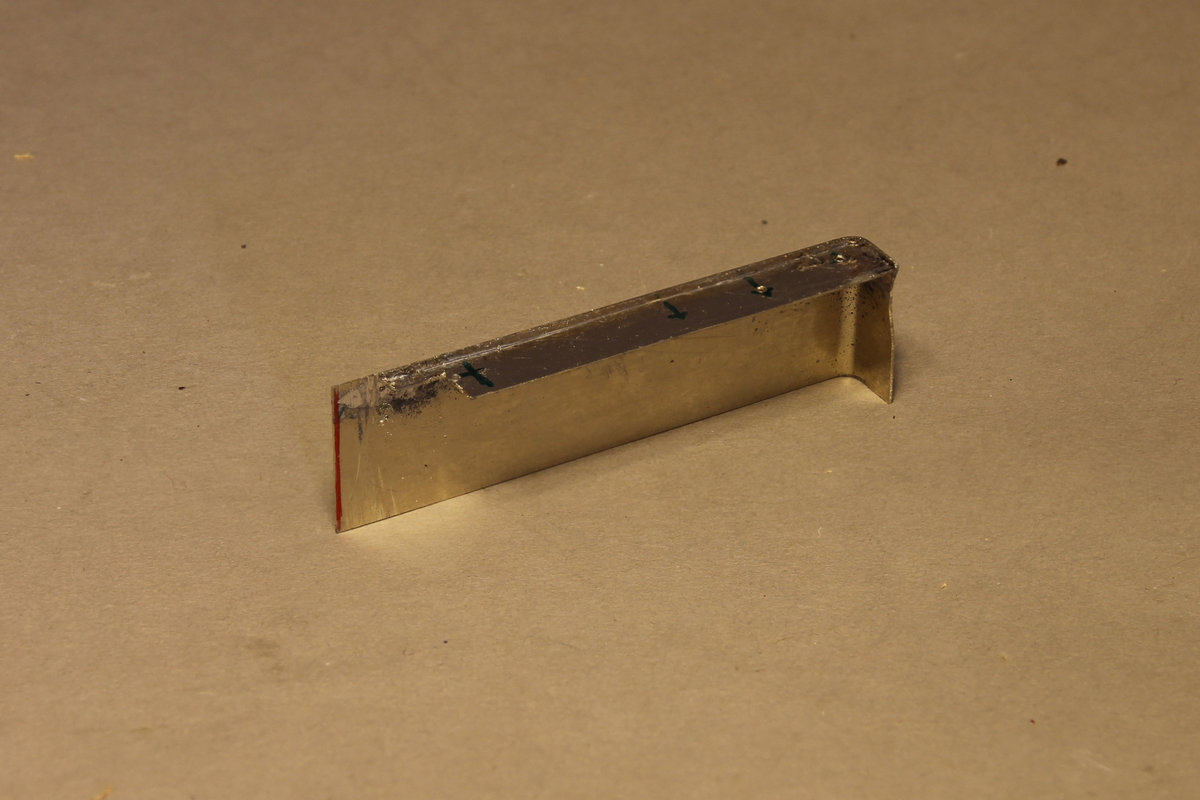
 The sketch left hopefully makes this process a bit clearer.
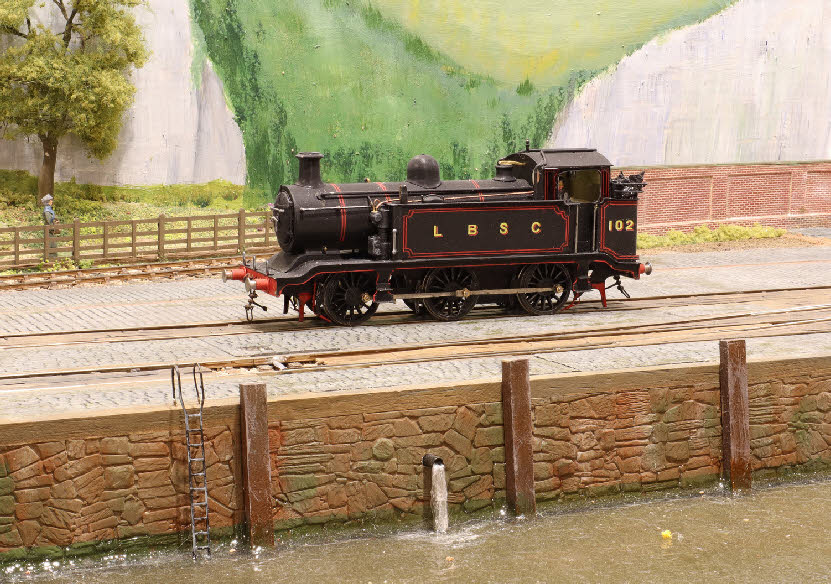
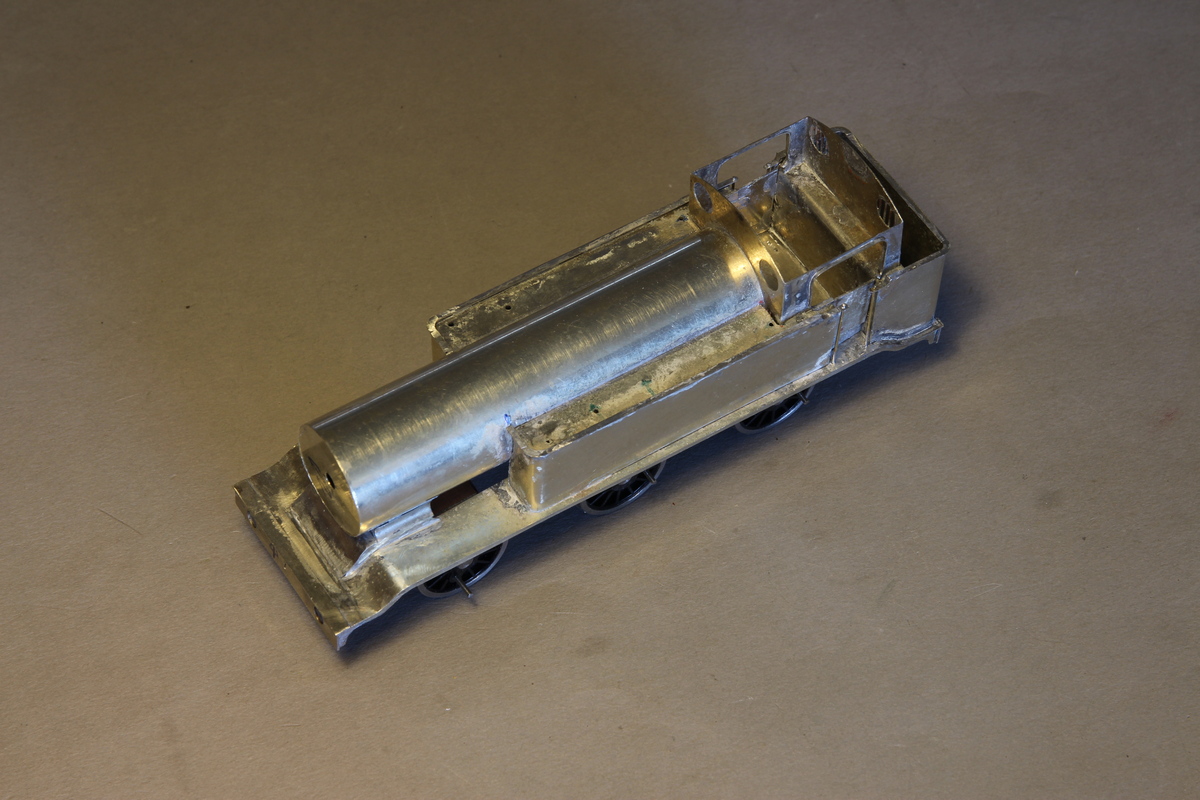
Work on this engine stopped for over a year while we built Ouse Wharf, but with the layout complete (not finished!) I’ve finally been able to add the remaining components to the engine, either commercially available, turned on the lathe, or fabricated. The engine is now finished, painted and lined, and running very sweetly. The photo below shows the engine on a visit to Ouse Wharf.